Home / The Order to Plan a Custom Gate for Acreage Near Cedar Park
The Order to Plan a Custom Gate for Acreage Near Cedar Park
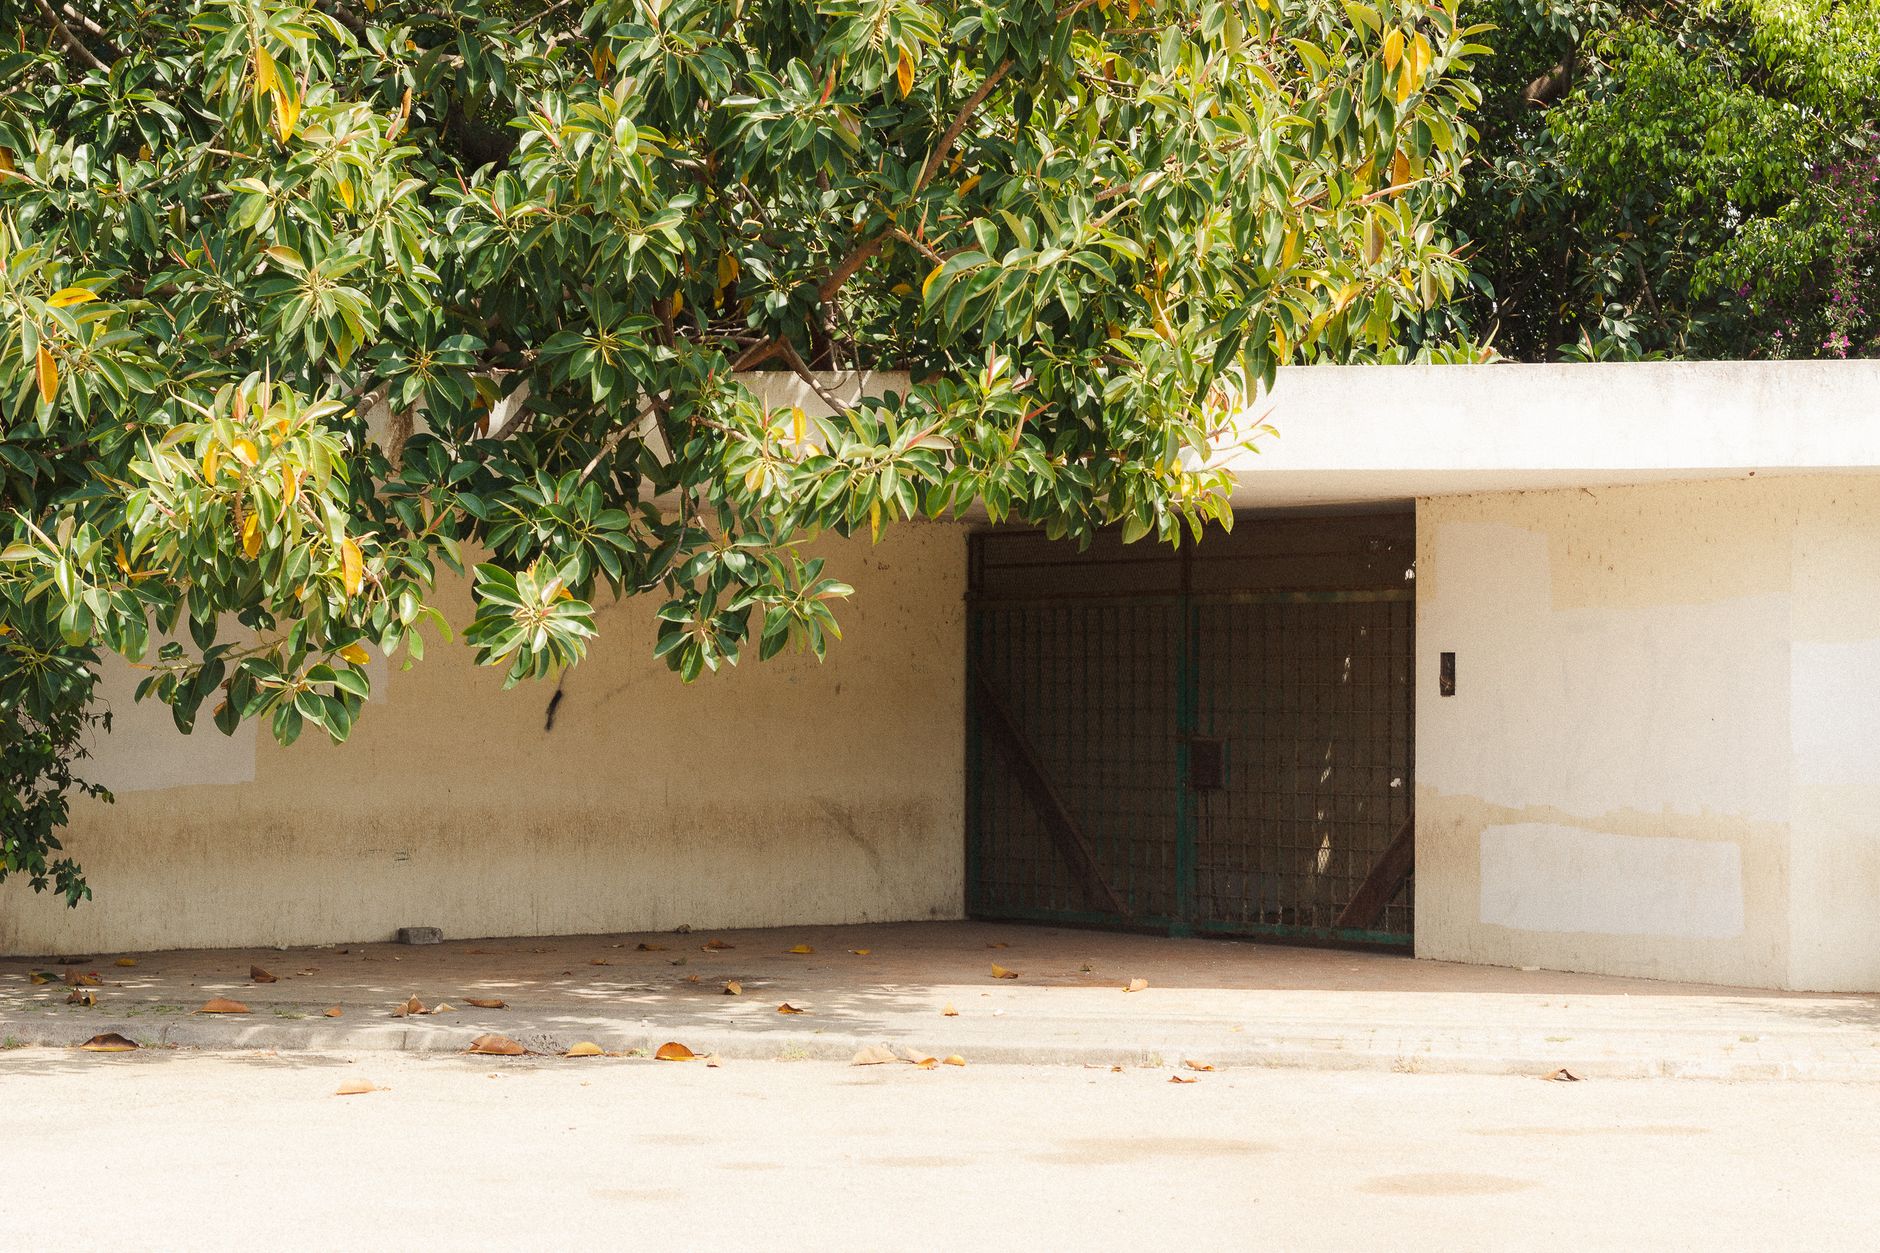
The right order for planning a custom gate on acreage near Cedar Park is survey first, then rules and easements, then layout, then design, then materials and power, and fabrication last. Reversing that order is how owners end up with a beautiful gate that does not fit the road, the fire code or the property line.
Acreage owners have more freedom than people in neighborhoods with associations, and more responsibility. Nobody hands over a design guideline, so the owner has to find the limits on their own. The following sequence keeps the work in a logical line and avoids the most common backtracking.
Step one: know exactly where the land ends
On larger parcels west and north of Cedar Park, the visible fence is often not the legal line. Old fences wander, and a gate built to match the fence can end up a few feet onto a neighbor's land or inside a road right of way. A current boundary survey, with corners marked, settles that question. If the survey is old, ask a licensed surveyor to confirm the corners or restake them. The cost is small compared with moving a pair of heavy posts.
Mark the corners and the road frontage with stakes and bright string. Walk the entry slowly and take photographs from the road, from the driveway and from inside the gate line. Those pictures will be useful later when the design is reviewed.
Step two: find the rules that apply
Outside a city, the county may control access from a county road. Inside the city limits or its extraterritorial area, the city has its say. A call to the county road office or the city review desk answers the question of whether a driveway permit, a culvert or a gate permit is required. Rural entries often need a culvert under the driveway to carry ditch water, and a gate placed over that culvert has to account for it.
Deed restrictions can exist even without an association. Older subdivisions on large lots sometimes carry recorded restrictions about fences and entries. Check the title paperwork or search the county records for the plat. A short look now prevents a dispute with a neighbor later.
Step three: map the easements and utilities
Power, water and phone lines serve acreage in less predictable ways than city utilities do. A line to the house may cross the front of the lot near where the gate will stand. Submit a locate request before any digging, and treat the paint marks as boundaries for the design. Hand digging within the marked zone is standard practice, and footings should be shifted if a line is in the way.
Pipeline and drainage easements show up on some rural parcels as well. Limestone shelves close to the surface add another surprise: the rock can make digging slow, and a footing hole may need a drill or a jackhammer instead of an auger. Probing the post locations with a rod gives a hint about what is under the surface.
Step four: lay out the entry on the ground
With the lines known, lay out the entry with stakes and string. Decide the setback from the road, based on the longest vehicle that will wait outside the gate. Livestock trailers, horse trailers and delivery trucks are common on acreage, and a setback that suits a car will not suit a trailer. A gate set back far enough also gives a pull in area so the trailer does not block the road.
Choose between a swing gate and a sliding gate at this point. Swing gates need an open arc and are common on level ground. Sliding gates need a straight run alongside the fence and suit a slope or a tight approach. A rolling cantilever needs no track on the ground, which helps where dirt or gravel would clog a track.
Step five: design the gate
Only now does the look of the gate come up. A ranch entry in the Texas Hill Country often uses heavy steel tube with a rail across the top and a name sign hung between tall posts. Wrought iron with scrollwork suits a more formal estate. Aluminum is lighter and does not rust, so it works on very wide spans where weight is a problem. The design should respect the width and the stacking room already settled, instead of trying to force them.
Think about height and about wind. Open bars allow wind to pass, while solid panels act like sails and put a heavy load on the posts and the opener. Spring storms and gusty afternoons are normal in Williamson County, so a design with open spacing lasts better.
Step six: plan the posts and the power
Posts carry the full weight of the gate and must be set in concrete deep enough to resist the lever action of a heavy leaf. Soil here ranges from clay that swells and shrinks to limestone close to the surface, and both call for careful footing design. Clay can push a post out of plumb as it dries and wets, so a wider, deeper footing is common.
Power for the opener may come from the house, from a nearby pole or from a solar panel with a battery. A long run from the house means a larger wire gauge and a trench with conduit. Solar works well where the sky is open, and the sun is plentiful here, but it needs a battery sized for several cloudy days. Plan where the controller, the keypad and any intercom will stand and how they will be wired.
Step seven: arrange emergency access
Rural fire departments rely on clear instructions for locked gates. A lock box, a siren sensor and a manual release are the usual tools. Ask the local fire district which one it prefers, because crews are used to a specific method. Make sure the clear opening can pass an engine, and make sure the gate can be opened by hand during a power outage.
Step eight: order and build
With every item above settled, the fabricator can work from a complete drawing. Lead times for custom steel run from a few weeks to a couple of months depending on the shop's schedule and the finish chosen. Fabrication should be done to the drawing, not improvised in the field. The finish, whether powder coating or galvanizing followed by paint, is applied after welding and before delivery.
Schedule the post setting and the concrete work around the weather. Texas summer heat speeds the cure and can cause cracking if the concrete is not kept damp, while a heavy rain can wash out a fresh hole. Allow several days of cure before hanging the leaf, longer for large footings.
Step nine: test and document
After installation, test the gate through a full set of cycles, test the safety reversal, test the manual release and the battery backup, and give the fire department the access information. Keep the survey, the drawings, the permits and photos in one folder. That folder pays off when the property is sold, when a neighbor asks a question or when a repair is needed years from now.
Owners near Cedar Park, Leander, Liberty Hill and Georgetown who work through these steps in order usually find that each decision narrows the next one. The design ends up simpler, the build goes faster and the gate works the way it should from the first day.